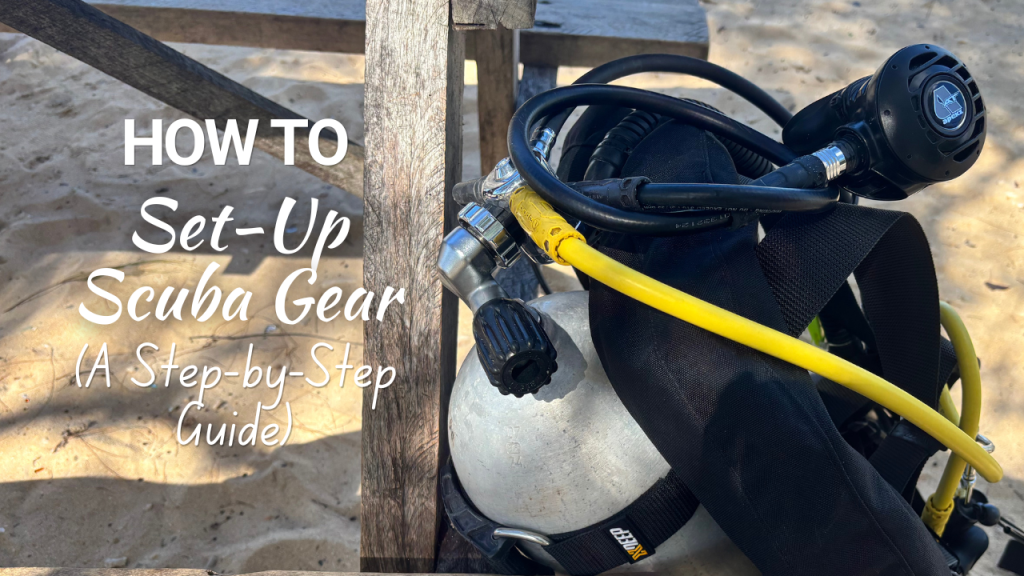
Learning how to set up scuba gear properly is one of the first skills every diver should master. A correct setup helps prevent equipment problems, keeps your gear streamlined, and makes your dive safer and more comfortable.
Whether you are brand new to diving or just need a refresher, this guide will walk you through how to assemble scuba equipment step-by-step.
1) Check the tank
Before you set up scuba gear, always start by checking your tank.
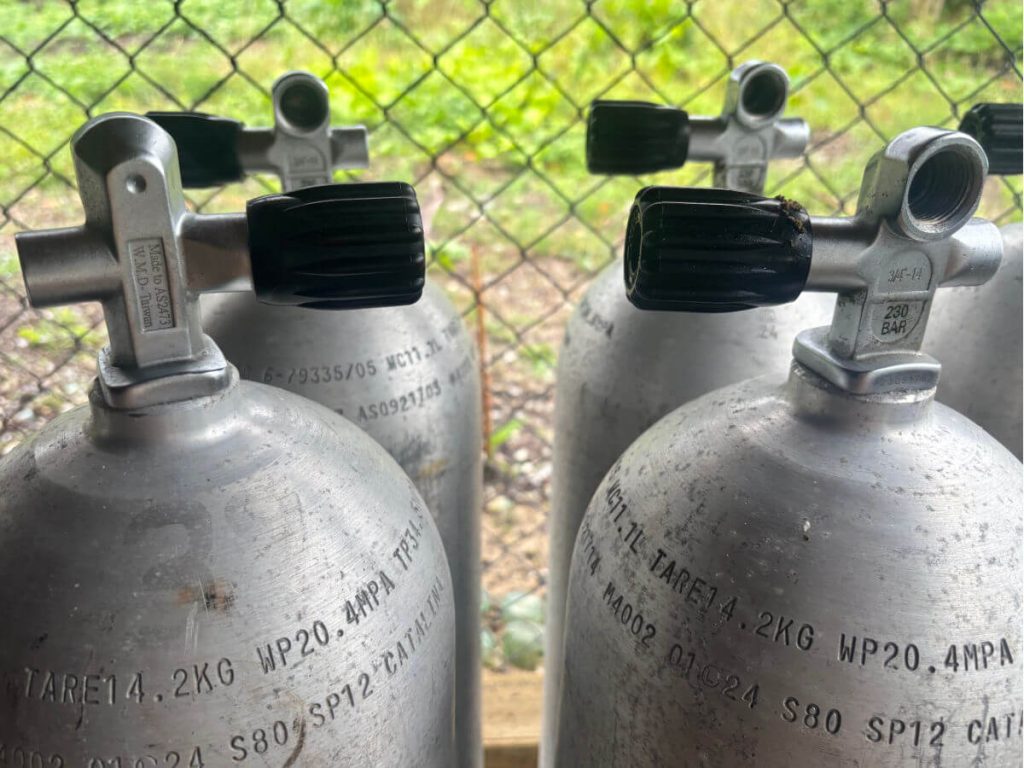
Check the Tank Inspections
Make sure the hydrostatic test is still valid (normally within the last 5 years depending on local regulations) and that the visual inspection is also current.
If you are unsure how to read scuba tank markings, check out our guide on understanding scuba cylinder markings.
Make Sure the Tank is Full
You can check tank pressure using an independent pressure gauge, or some dive operators may mark full tanks using a tank cap, rubber band, or hose marker.
A standard aluminium 11L tank is commonly filled to around 200 bar.
2) Attach the BCD
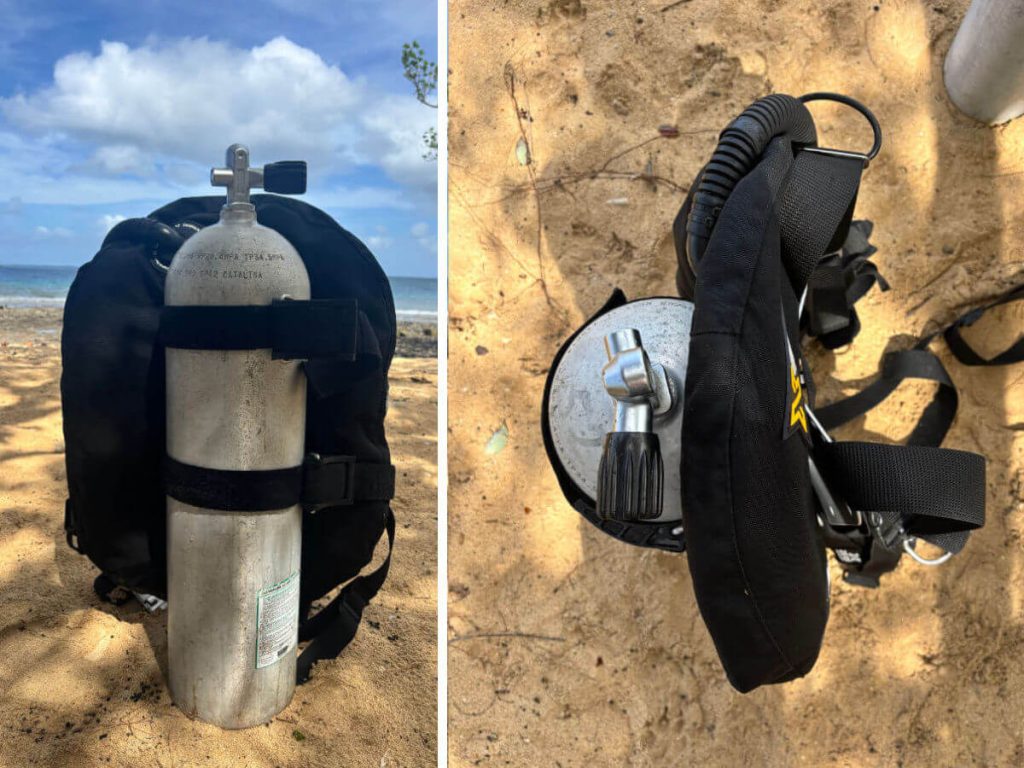
Next, attach your BCD (Buoyancy Control Device) to the tank.
Position the tank so the valve opening points in the same direction as the BCD straps. Essentially, the valve opening should point toward the back of your head once worn.
Slip the cam band(s) over the tank and line up the backplate parallel with the tank valve handle.
Jacket-Style BCD Setup
If you are using a jacket-style BCD, shimmy the tank bands down slightly. A common reference point is around four fingers below the tank shoulder or stamps.
Once positioned correctly, tighten and secure the cam band.
You can then loosely attach the safety strap around the valve neck. This secondary strap is mainly there to stop the tank floating away if the main cam band accidentally loosens.
Backplate and Wing Setup
If you are using a backplate and wing BCD, continue sliding the BCD downward until the upper tank strap sits just below the tank stamps, then tighten securely.
Test the CAM Band
A good test is to lift the BCD by the shoulder straps or carry handle and give it a solid shake. If the tank slips or moves, tighten the cam band further. Check out this other post on how to tighten a CAM band if you’re unsure.
3) Attach the Regulator
Now it is time to connect your scuba regulator to the tank.
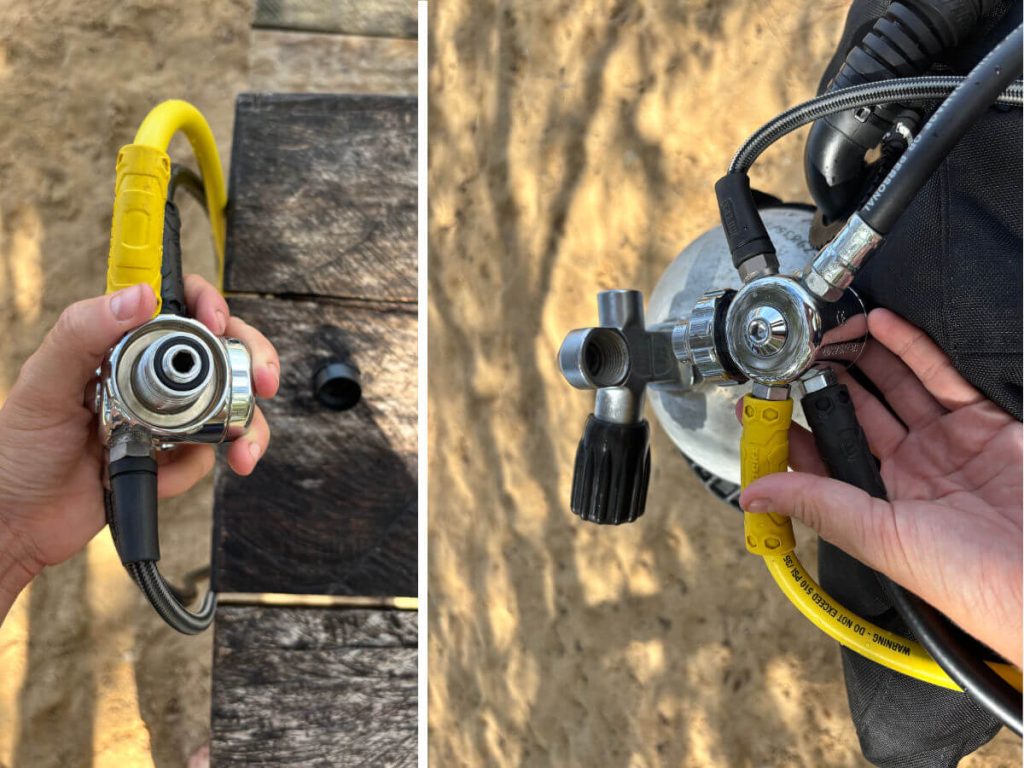
Remove the dust cap from the first stage and store it safely if it is not attached to the regulator itself.
Most recreational scuba regulators are routed with two hoses over each shoulder:
- Right shoulder: primary and alternate second stages (mouthpieces)
- Left shoulder: low-pressure inflator (LPI) hose and submersible pressure gauge (SPG)
A simple way to remember the hose routing is that the inflator hose sits on the same side as the BCD inflator.
Check the O-ring
Inspect the O-ring for dirt, sand, cracks, or damage.
- On a DIN regulator, the O-ring is part of the regulator first stage.
- On a yoke regulator, the O-ring sits inside the tank valve.
If the O-ring is dirty or damaged, clean or replace it before assembly, otherwise the connection may leak.
Connect the Regulator
Attach the regulator to the tank valve:
- DIN regulators screw directly into the valve.
- Yoke regulators clamp over the valve opening.
Hand tighten the connection firmly, but do not overtighten it. Once the tank is turned on, the internal pressure helps seal the connection.
To learn more about DIN vs yoke regulators, adapters, and compatibility, check out this other article.
4) Streamline Your Regulator Hoses
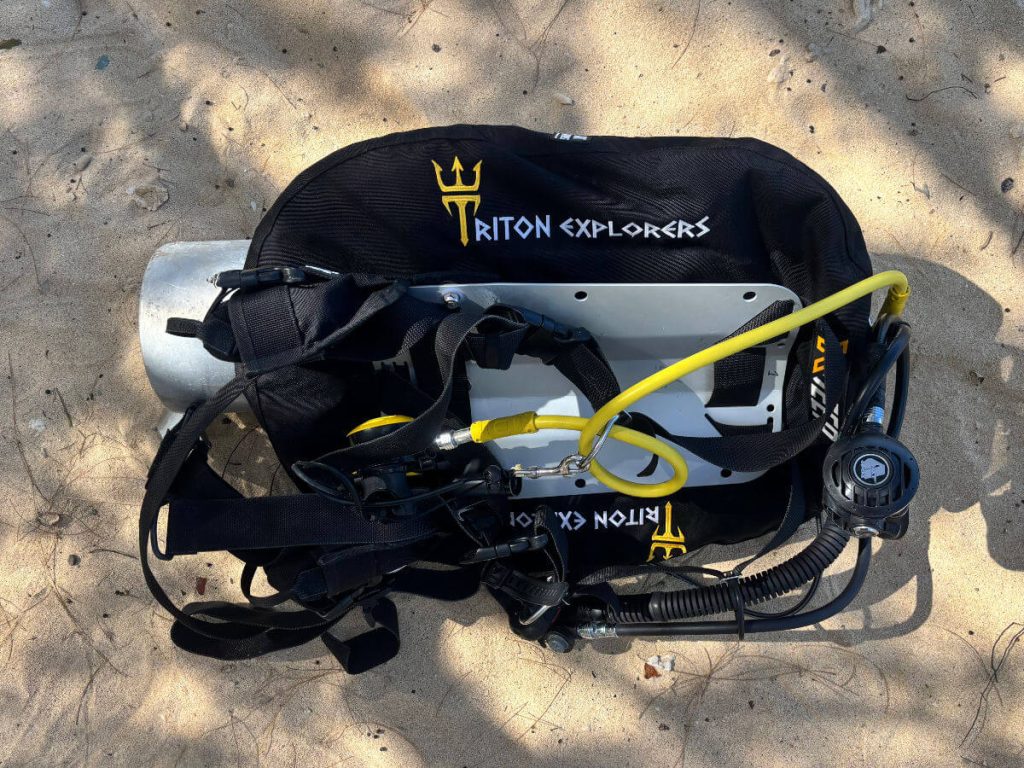
Most standard scuba regulator setups have four hoses.
Keeping them streamlined helps reduce drag and prevents hoses from dangling into sand or coral.
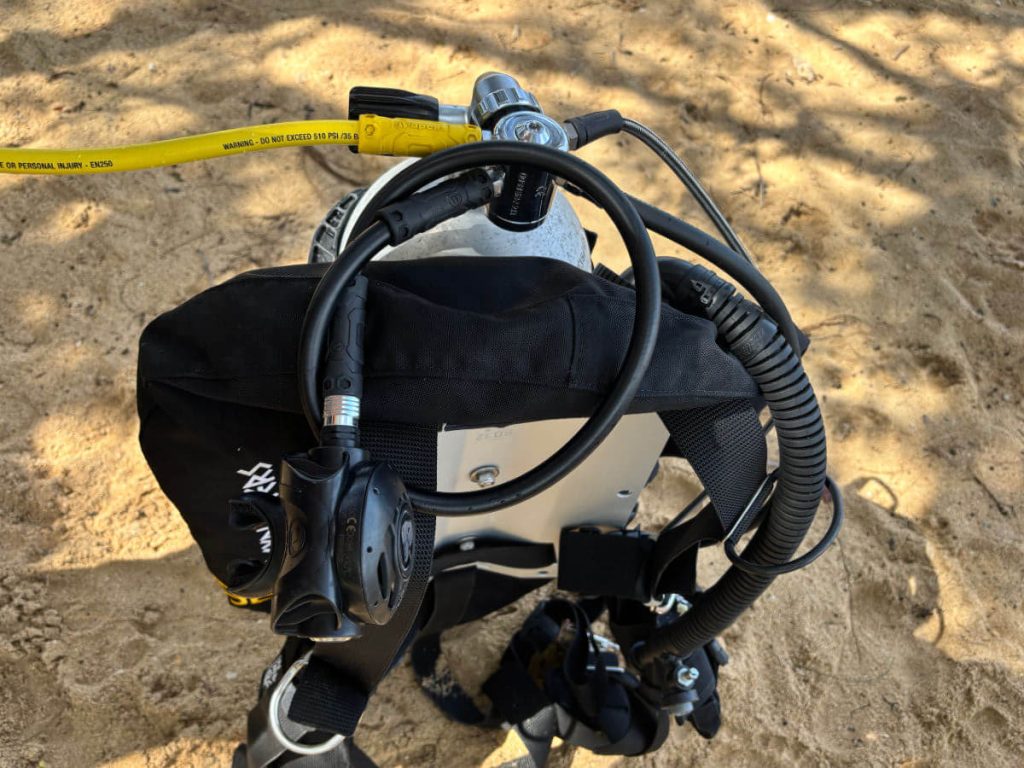
1 – Primary regulator (black)
This is the regulator you breathe from during the dive.
Leave it accessible. Some divers loosely loop the hose to stop it dragging.
2 – Secondary regulator / Octopus (yellow)
Clip or secure your alternate air source using Magnetic clips, Rubber retainers, Quick-release holders, D-rings or BCD pockets.
It should remain visible within the “golden triangle” area between your chin and hips so your buddy can quickly access it in an emergency.
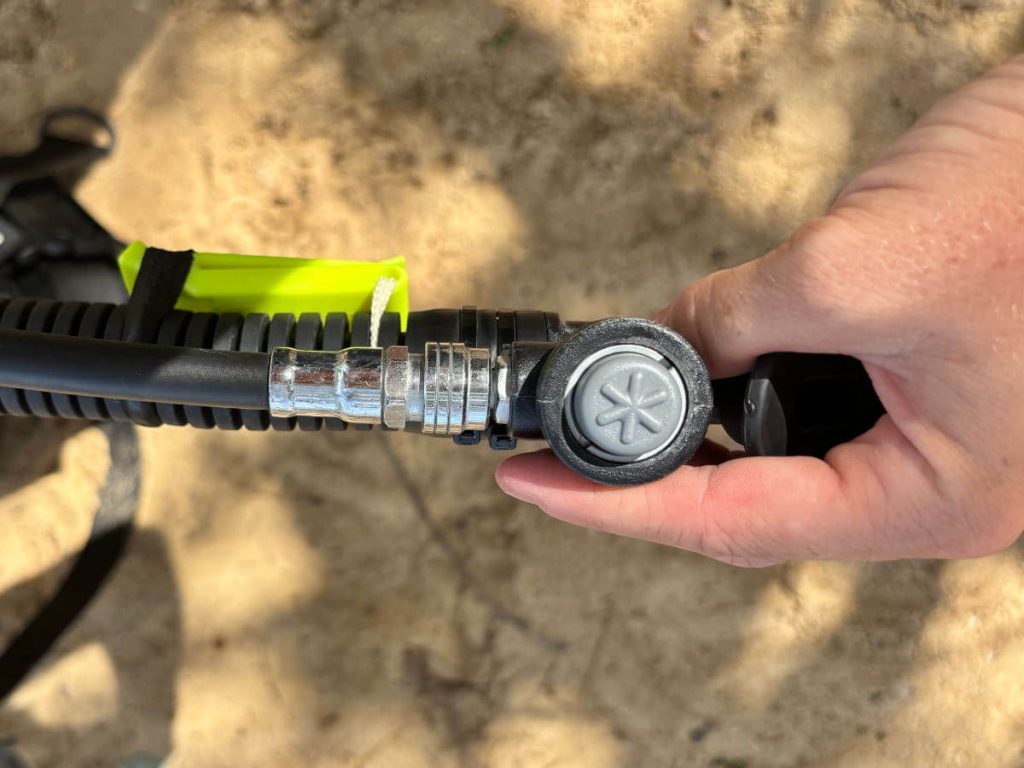
3- Low-pressure Inflator Hose
Connect the inflator hose to the BCD inflator on your left shoulder.
Pull back the metal collar, push the hose onto the inflator nipple, then release the collar.
Give it a gentle tug afterward to make sure it is secure.
Although it is possible to connect once the tank is on, It is much easier before there is pressure in the system.
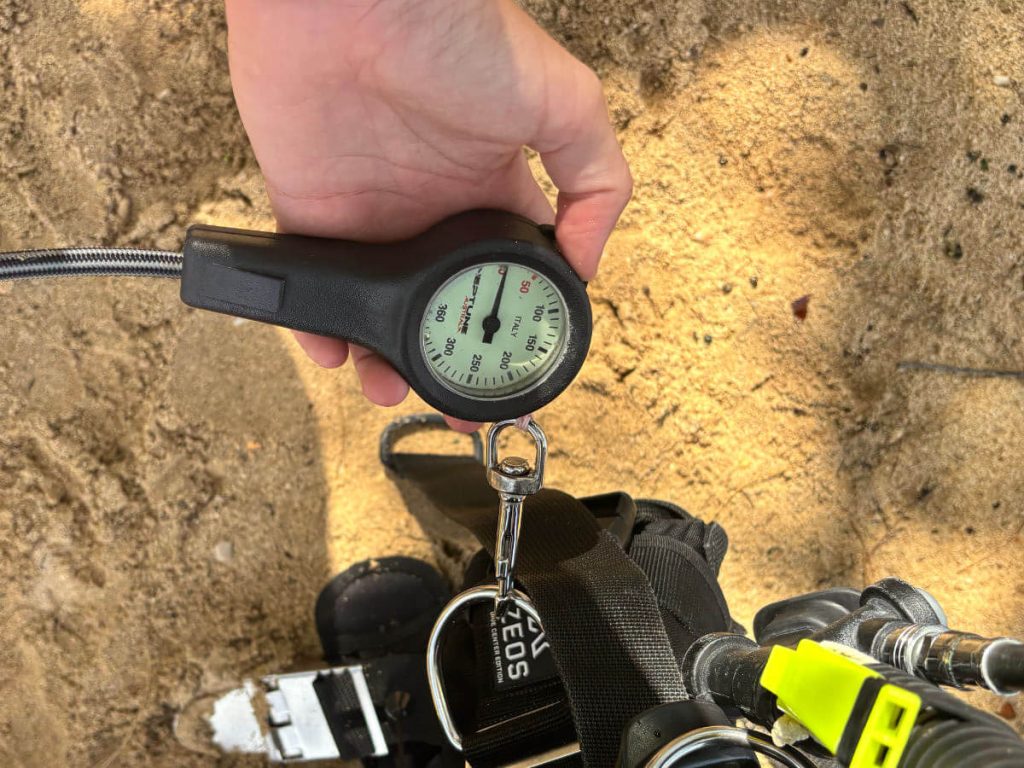
4 – Submersible Pressure Gauge (SPG)
Your SPG shows how much air remains in the tank.
Clip it away or remember to streamline it once wearing your equipment.
5) Turn On the Tank
Slowly open the tank valve by turning the handle away from your equipment.
You should hear a brief inflating sound as pressure enters the regulator system and the hoses become firm.
If you are unsure which direction to turn the valve, most tank valves are marked “Open” and “Close.”
Avoid looking directly at the SPG
Although extremely rare, pressure entering the gauge can occasionally damage the gauge face or glass.
It is best practice not to look directly at the SPG while opening the tank.
Quarter-turn myth
It used to be common practice to open the tank valve fully and then turn it back a quarter turn.
With modern valves, this is generally unnecessary and can actually create confusion about whether the tank is fully open or partially closed.
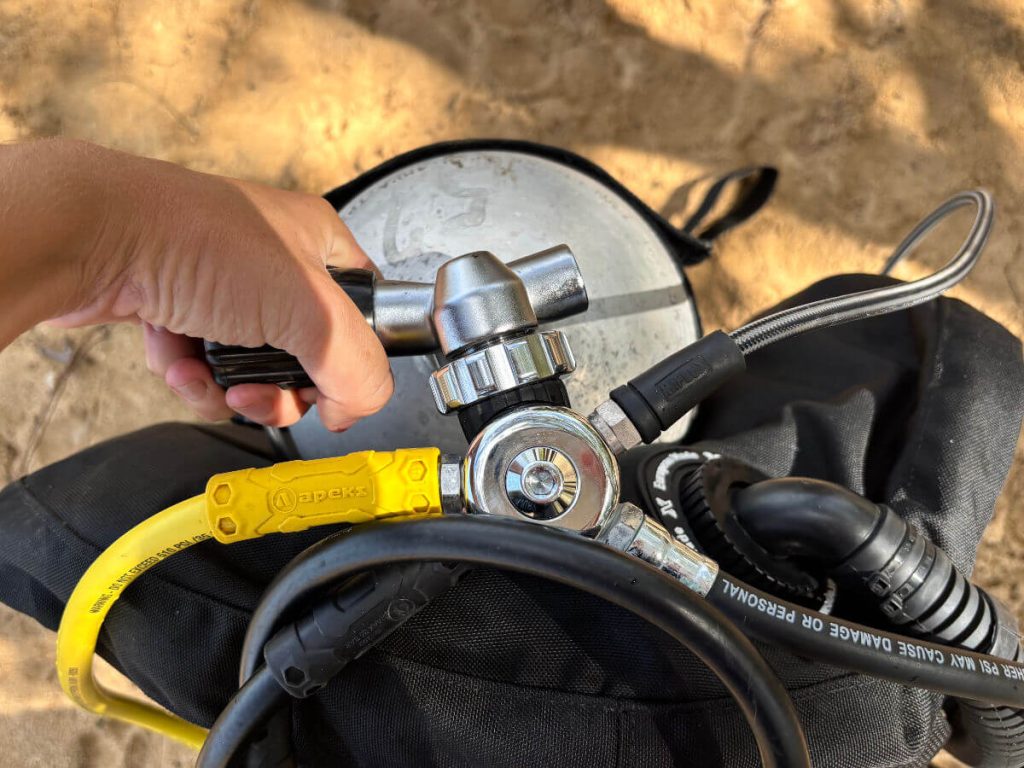
6) Check All Four Hoses
Now that the system is pressurized, test your equipment to make sure everything works properly.
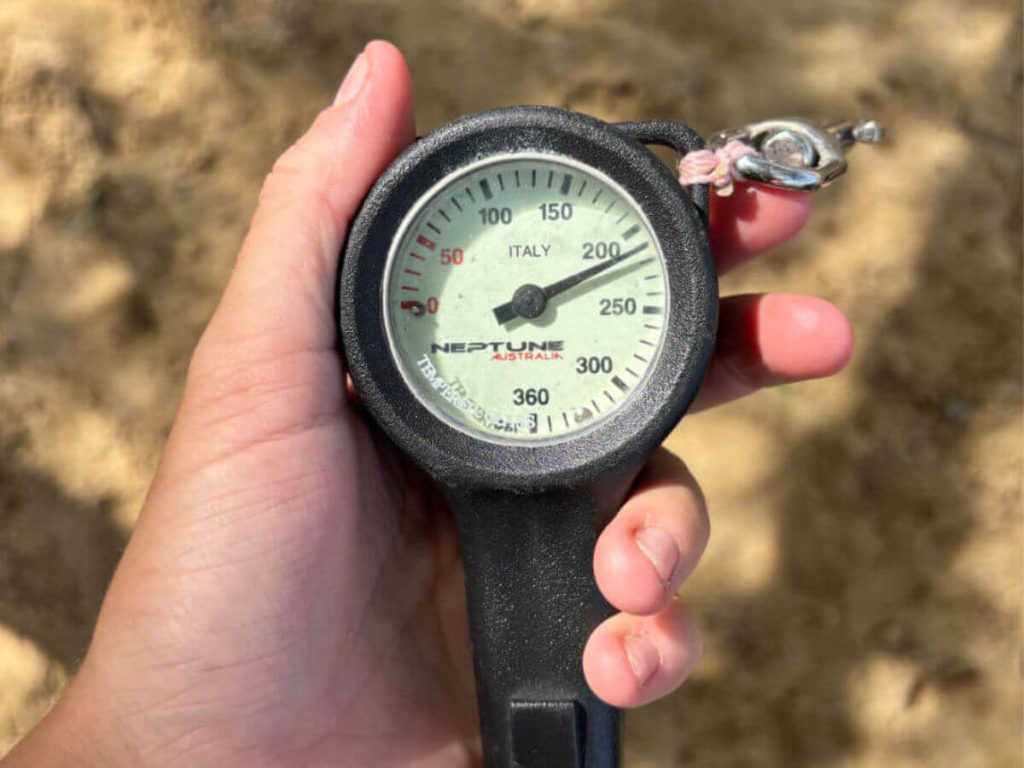
1- SPG Check
Confirm the tank is full. A standard aluminium 11L tank is commonly filled to around 200 bar.
2- Low-pressure Inflator Check
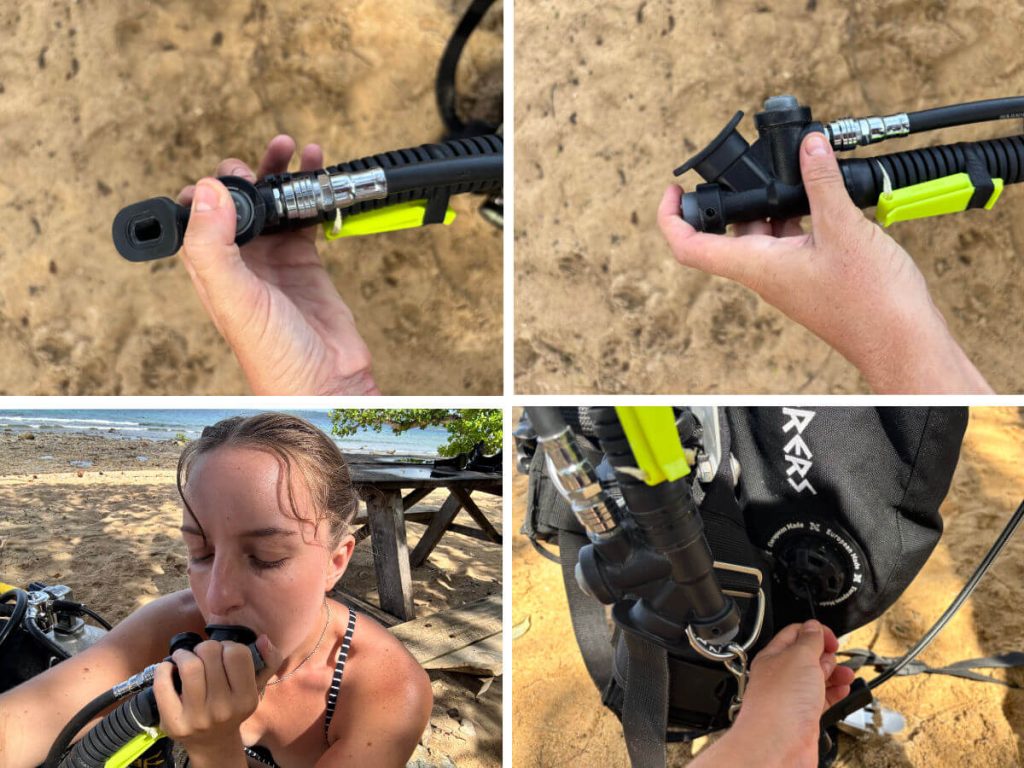
Check the dump valves are functioning correctly
Inflate the BCD using the inflator button.
Deflate using the deflator button
Test oral inflation by pressing the deflator while blowing into the inflator mouthpiece
3 – Secondary Regulator Check
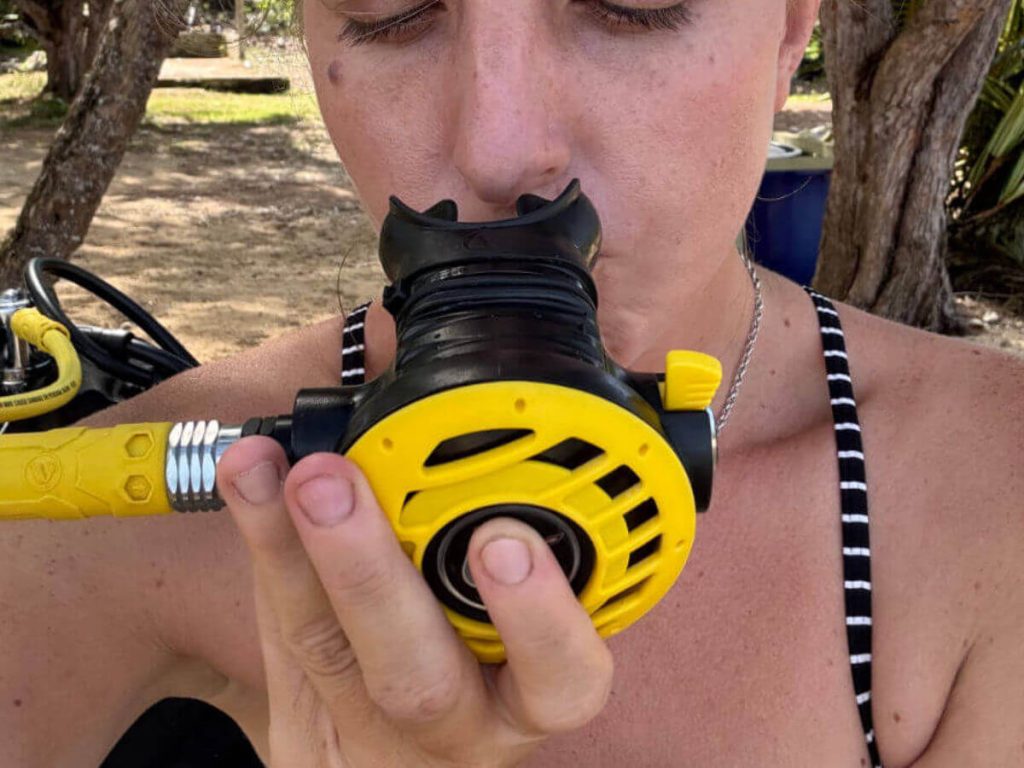
Even if your dive operator properly maintains and filters their air, always test it yourself.
Press the purge button and smell the air. It should not smell like smoke, oil, exhaust fumes, rubbish or contamination.
Then breathe from the regulator briefly to test airflow and taste.
4 – Primary Regulator Check
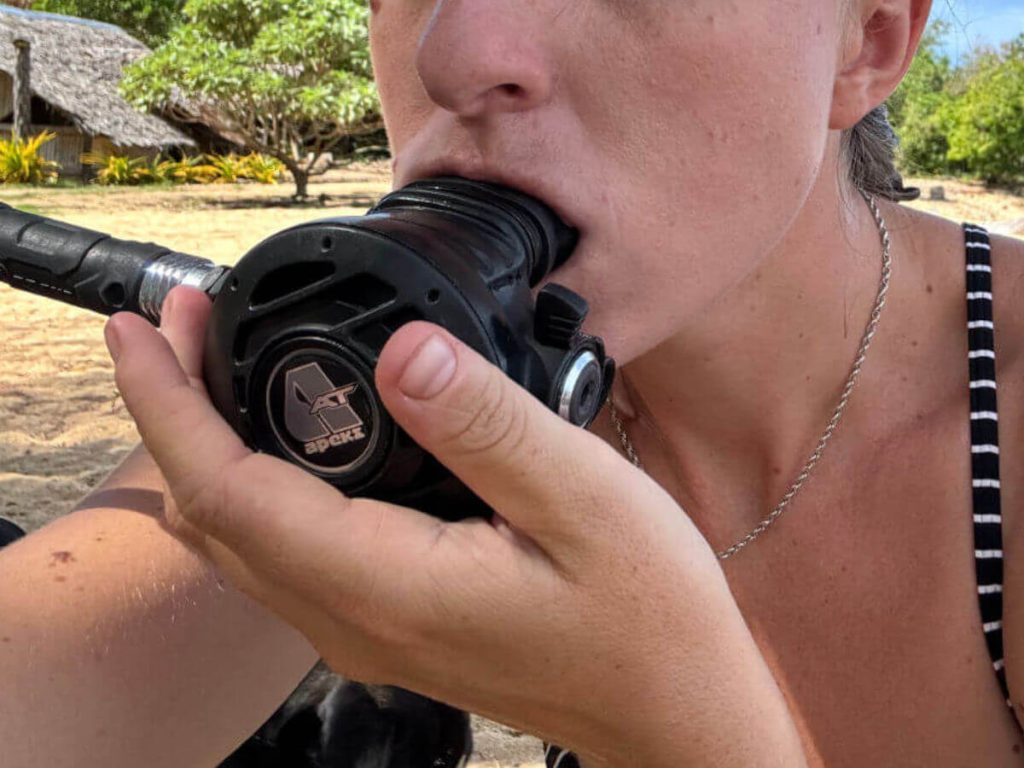
You do not need to smell-test this regulator separately since it comes from the same tank, but you should still breathe from it to ensure it works properly.
Final Pre-Dive Tips
Once you have set up your scuba gear, either:
- Put your equipment on and complete your buddy checks
- Or turn the tank off and stow the gear safely until the dive
Don’t leave tanks turned on unnecessarily as small leaks can slowly drain your air supply.
Don’t leave scuba gear standing unattended as a falling tank can damage equipment, valves, or surrounding gear.
Final Thoughts
You will learn how to set up scuba gear during your Open Water Course.
In the beginning, it is worth slowing down and taking your time so you can build good habits and help prevent problems underwater. With time and practice, it becomes second nature.
Some dive operators may set up your equipment for you before fun dives, but it is still a good idea to practise doing it yourself until you feel confident.
If someone else has assembled your equipment for you, it becomes even more important to thoroughly check everything during your pre-dive safety check. If you are unsure how to do this, check out this post next.
After your dives, you will also need to disassemble and clean your scuba equipment. You can read all about that in this next post.